Monday, June 18, 2012

I like Cake!

I have made a few cakes for my daughter and I think they are pretty cool. I am on an adventure to make her a pretty great on this year too. She wants a Shaun the Sheep cake and we have a few images pulled to work from.

They are so cute!

Here are a few of my past adventures. They have claimed so many of the hours of my life, so I am not sure of how big I will go this year.......

but please enjoy, we sure did!


 These turned out cute despite they are not my best effort.
But, I must that there were no complaints that day!


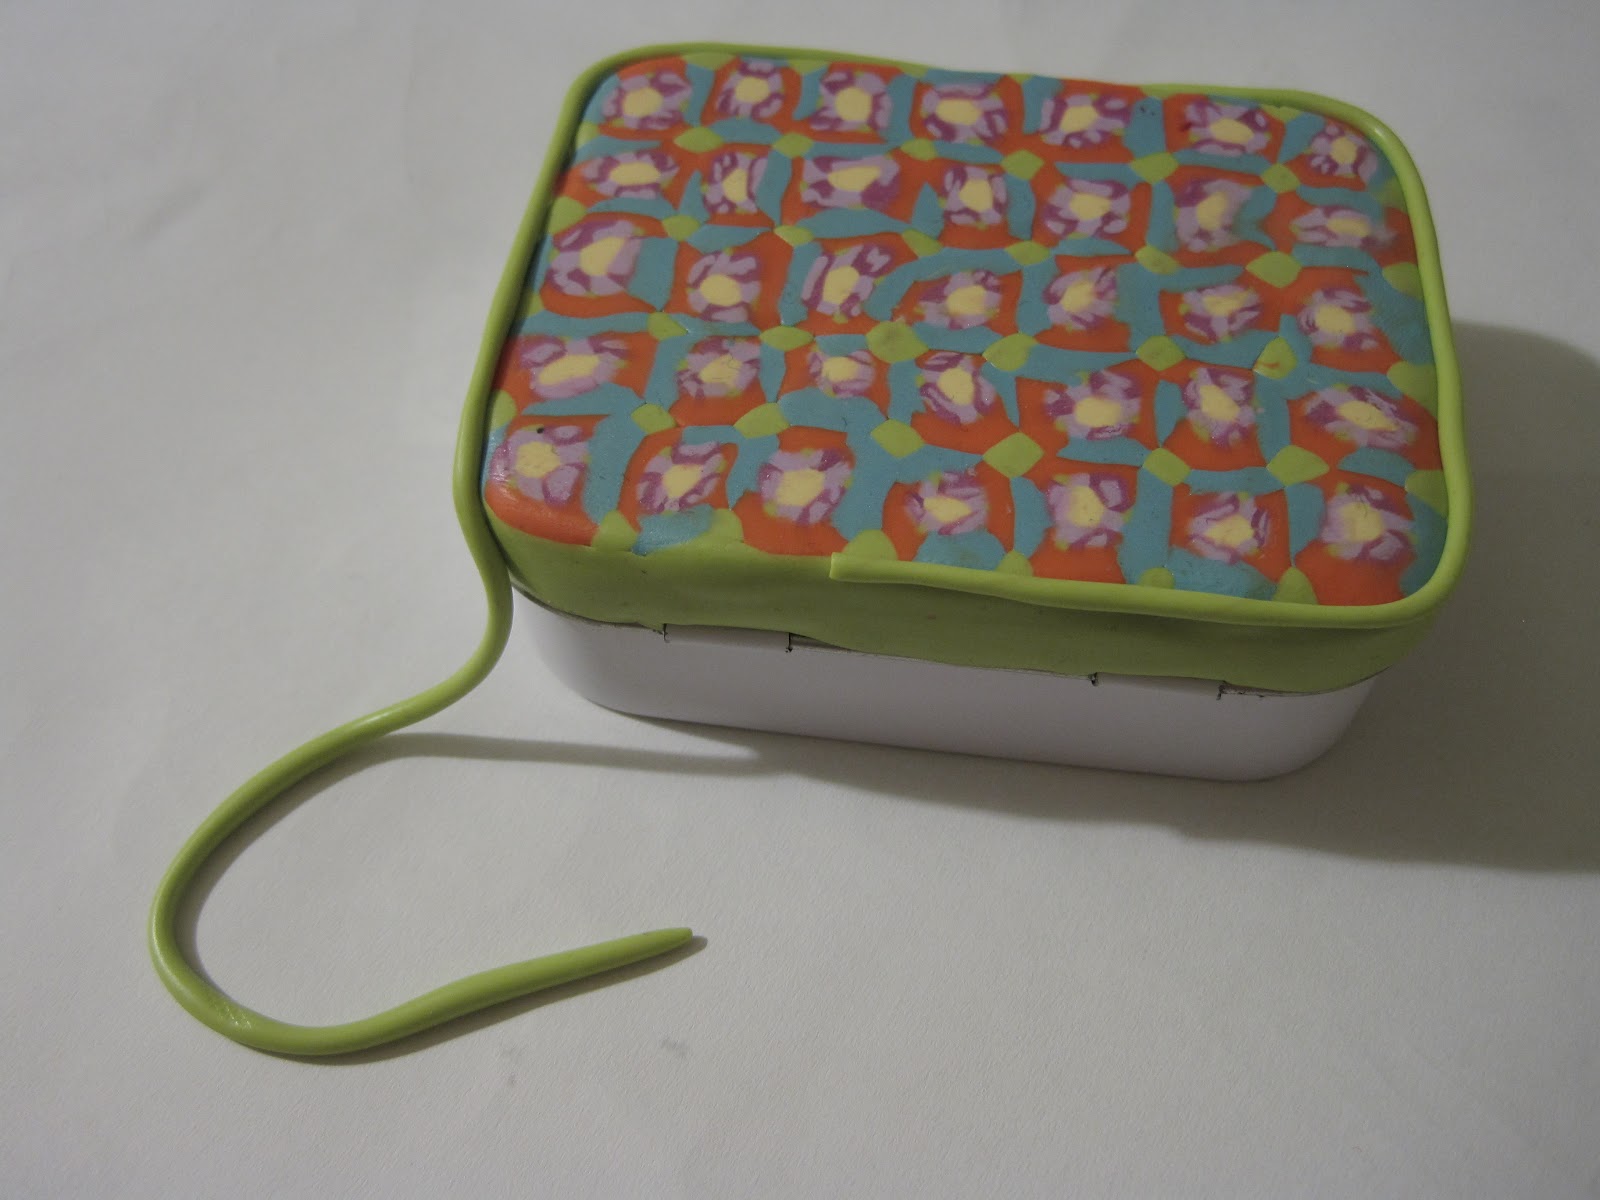
This was my 1st attempt at a fondant cake...15 hours or more.
This entire cake is edible. The tube under the green fondant is the only exception.


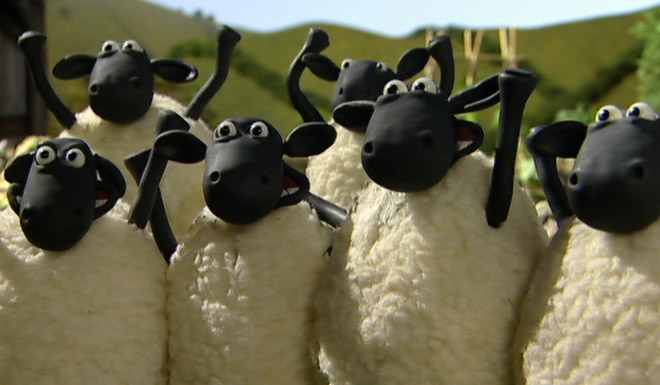
This was last years cake, the kids went crazy.
Trees, rocks, shrubs and Perry are formed from krispie treats
and covered in marshmallow fondant.
100% edible!


Mmmmmmm Perry....grrrrrrrrr!

I use Wilton's Rolled Marshmallow Fondant. It is easy to work with and tastes way better than the stuff you buy pre-made or get on fancy wedding cakes.


Tuesday, June 12, 2012

To Many "Smore" Years....


This is what you will need for the candy flowers.
Also, pickup a sandpail and some tissue paper.
Graham crackers, marshmallows, and individual chocolate bars are a must!
 glue the candy into the cups, coil the pipe cleaner a bit and glue to cup. (use hot glue)
 wrap a small square of green paper around a few flowers and it looks like leaves
  fill bucket with items and add flowers
Cute gift for anyone!
My parents celebrated 40 years and my inlaws celebrated 20+years! Congrats!!!!

Sunset Pendants: Mother's Day Gifts for the Grams

So her Grandma's love her artwork so much, we wanted to make a knockout mother's day gift. I used my metalsmithing skills to get the base started and an enameling we went!  She is such a creative little helper and is so hands on.


I made and prepped the copper rectangles with white enamel.  She came up with the design and drew and painted the sunsets. I torch fired the the enamel, 7 year olds can't use torches.


*drying before they were fired

 *after they cooled down

Copper rivets were added and a jump ring to hold the necklace.

They loved them!!!

Clay Tin: Re-purposed cough drop tin

  • tin
  • polymer clay (Sculpey)
  • nail and hammer
  • clay tools (I used an exacto knife and tooth picks)
  • baking pan
     

1. use a nail to poke to holes in the top of the tin.


2. Make cone shapes out of polymer clay and place end into hole,
starting on the inside of the tin.


 *as the clay pokes through, flatten it down to create a head
(like a rivet or nail)


3. Fill the top and then edge with pieces of clay.
You can use patterns to create a more interesting design. 
 *Roll a thin clay "snake" and use it to edge the box.
Bake according to directions.


This little gem works great for a stow-a-way in your purse and can take a beating! I love mine and keep my necessities in it and its cute. Before you bake it, make sure you remove all paper...avoid all fires. Also, make sure you purchase the oven bake clay.  This is important, I have seen too many times that children have lost beautiful creations because people grabbed the wrong package...oops!